The collaged area is what shows when the mailer is folded up. This mermaid has found a treasure under the sea: a lovely starfish charm!
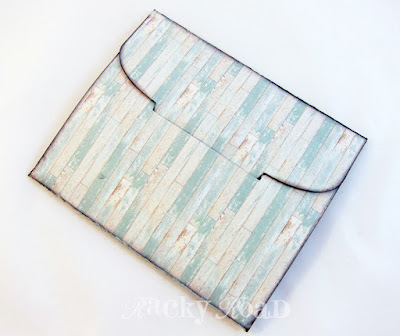
Here's the back of the mailer, folded up and ready to go.
When you open the mailer, here's what you find inside - whimsical colorful bubbles, and a mermaid ATC securely inserted into the mailer.
It's easy to pull the ATC out for further inspection.
I did want to use the precut flaps to hold the ATC inside, but I didn't want any cuts on the mailer's front surface, so after the inside was covered with the bubble paper, I flipped the mailer over and used an x-acto knife to cut the flaps through the paper on the other side. In the photo below, notice that the folds are painted and the mermaid collage is not yet in place; it was glued on after these cuts to the inside were made.
Now to glue on the front. It's important to not glue the front collage to the flaps. If you do that, they won't flip open to hold your ATC! I inserted a playing card to keep the flaps covered and protected while gluing. I also opted to use some strong double stick taps around the edges, in the middle, and along each flap. This will help hold down that collage. I used a glue stick to fill in the spaces between the tape. Not on those flaps, though - keep them clean! Once the collage is in place, gently remove the playing card and make sure that the flaps are able to open. The ATC will now have a happy home within the mailer.
Now finish that front and give an ATC to a friend!
For a complete list of supplies, click here!


This is beautiful! Love the sea blue colors and collage. I'm guessing you would have to put this in another plain mailer to go through the actual mail if you wanted to send it. Thanks for the great tutorial. Just love it!
ReplyDelete