Design team member of Alpha Stamps, lover of ephemera and junk.

Welcome! Grab a cold one, kick off your shoes, and have a look around.

Thursday, December 27, 2012

My Sister's Pups

Here's what else I made my sis for Christmas this year: portraits of her beloved dogs, Maggie and Zoey.
These are painted with acrylic paints on 4" by 4" boards, and then sanded on the edges. The knobs are by Tim Holtz, and the feet are bead caps.

Here's Maggie in real life:
And her portrait:
Zoey:
And her portrait:
I am by no means the best painter, but I think there's some resemblance, and my sister seemed to really like them, so I'm happy with that.


Sunday, December 16, 2012

Wooden Photo Ornament

I wanted just one more little thing to give to my sister this year for Christmas, but I wasn't sure what. Then I remembered some photobooth pictures we took one year when we were Christmas shopping together, and thought that it would be fun to take some of those photos and make an ornament. I went rummaging around in my craft room for inspiration, and came up with the idea of using some of the old wooden blocks I've picked up at thrift stores.
It was pretty simple, really. The square block is from a set of puzzle blocks. I love these when the pictures are distressed and ripped. They make for a nice bright background. I copied the photos to size, and then gave them a slight hint of color with some Copic markers. I added the scrapbook paper hats and then glued an image onto each side of the block. The round part on top is an old wheel, covered with a ribbon and some ric rac. The wooden knobs are from Alpha Stamps, painted and distressed so they fit in with the vintage blocks.
A few sequin stars and rhinestones give it a little bling. I hope this will be a nice memory to hang on her tree. I think I'll have to make one of these for me!
Can you believe Christmas is so close? A happy holiday to you and yours!

Monday, December 3, 2012

Gift Card Holders For Alpha Stamps with Tutorial

It's the 3rd Day of Christmas at Alpha Stamps' 12 Day of Christmas event! Welcome!
 

Here's my take on day three: three kids a'gifting! Above is a holiday ATC, and below are the projects I did for the day: a gift tin with a sleeve, and a little elf on a spool. The tin is the perfect size to hold a gift card or a small present; the elf can also serve as a gift card holder, a place card, or a Christmas countdown. Here's the sleeved tin. 

And the elf on the spool, holding a gift card.

Tutorial 

Supplies can be found here

Step One: Using Copic markers, color images from the Little Darlings collage sheet. Add red rhinestones and paper hats made of scrapbook paper. Trim hats with contrasting paper, rick rack, or ribbon. Glue onto contrasting scrapbook paper, and cut out.


Step Two: Cover a blank tin with scrapbook paper. Click here for a tutorial on how to cover a tin.

Then, make a template for a sleeve that will fit over the covered tin. Once you are comfortable with the size and fit of your template, use the measurements to create a sleeve using a thin piece of shirt cardboard covered with scrapbook paper. Using a bone folder, score the folds.
 
Step Three: Wrap the sleeve around the bottom of the tin. To make the feet, glue bead caps into place on the bottom of the tin with E6000 glue.
 
Step Four:  Glue bottle brush tree to the cardboard sleeve. Wrap miniature Christmas bulbs around the tree and glue into place with hot glue. Glue a little cotton around the base of the tree, and place a couple of tiny wrapped gifts where the children will stand.
 
Step Five: Glue the two children in place, attaching the backs of their legs to a package. Fill in the rest of the base with more tiny gifts. Glue some sequin stars to the tree, and put one in the hand of one of the children. Put the end of the string of lights into the hands of the other child. 

Here's the tin with the sleeve removed, and a gift card enclosed. This image from the Silly Santas Collage sheet fits perfectly on the lid of the tin!


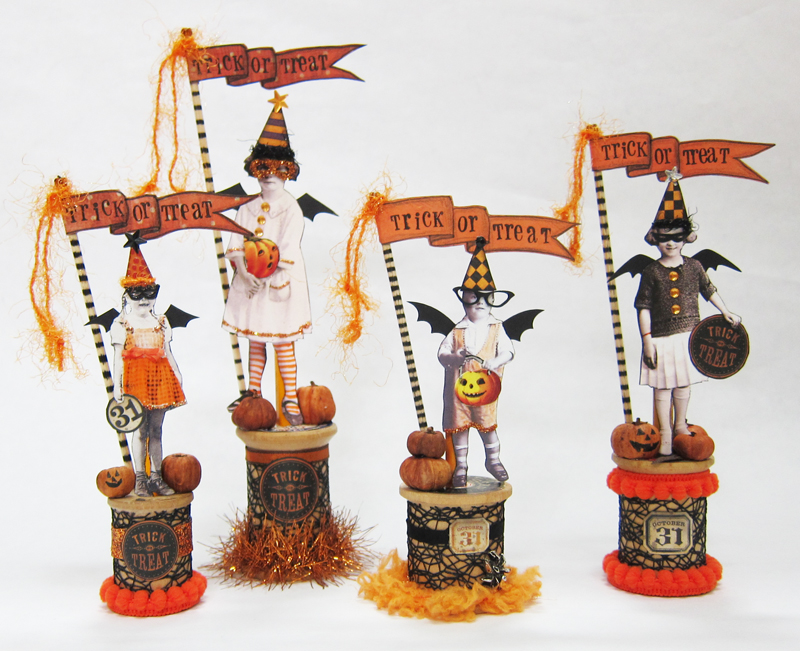
Spool Place Holder/Gift Card Holder

Wrap various ribbons around a wooden spool. Stack gifts and glue figure onto the top of the spool. Make a flag using a bamboo skewer, a bead, and some fibers, and glue onto the back. For placeholders, stamp a name onto a tiny address label, and have the figure hold it.

Here's the elf holding a little countdown to Christmas card, made using the black chalkstock ATCs. You can use a piece of chalk to change the date every day. Only 22 days to go!
Merry Christmas everyone. I hope you enjoy the 12 Days of Christmas.

Wednesday, November 28, 2012

Let It Snow

Here's another item I made to send off in the Craftster swap I recently did. My partner's theme was snow, and I just couldn't resist somehow incorporating her precious dog in some art. Here's her pup patiently balancing some carrots on its nose. Adorable!
I got my hubby to cut me a nice 9" by 12" board, and made her this "Let It Snow" sign. It's sanded down to give it a vintage look. No carrots on the nose for this sign, just a tiny snowflake!

Monday, November 26, 2012

Reindeer Ornament With Vintage Parts

Wow, long time no post, but I've been working on Christmas stuff and can finally post a little bit of what I've been working on. I've made some fun stuff for Alpha Stamps that I'll be able to post on December 3rd, but until then, here's what I'm working on now. 

I'm always looking for a nice placecard holder/ornament for our family Christmas eve dinner. This year I was very excited to find a little basket of vintage candle clips at a local antique mall. These are the things that Christmas tree fires are made of! I don't want to be burning down my house, but I love the shape and patina of these clips.


Here's what I decided to do with them: I gently bent down all but one of the prongs intended to hold the candle, and attached a large metal snowflake that I embellished with some rhinestones. I then took some white garland I found at Ikea and wound it around the cup of the base. I gave a little plastic deer a quick spray with glitter mist, hung a jingle bell around his neck, and then glued him into place with some E6000.

For the table, I'll use the clip to hold everyone's name card, and then everyone can take the ornament home to use on their tree next year. This particular ornament was my prototype, and went to a swap partner in a Craftster swap. I'll be whipping up the rest as soon as my order of tiny deer comes in the mail.

Sunday, October 21, 2012

Wish Fairy on a Spool

Everyone can use a little wish fairy in their life, yeah? Here's one on a vintage wooden spool. She's ready to go with her little watch hand wand, and her ampersand party hat.

 Here's her back:
Make a wish!

Saturday, October 20, 2012

Time Card Holder for the Craft Room

I love using repurposed items in the craft room. My parents, knowing this, sent me a wonderful old time card holder. I love the letters and numbers on it. I hung it on a skinny wall in the craft room and placed some photographs, postcards, old letters and atcs in it. I think it looks great! Thanks, Mom and Dad.

Monday, October 15, 2012

Halloween Potion Bottles

Alpha Stamps is hosting a Potion Bottle Swap. (For more details, click here.) Here are the sample bottles I made for the swap. I love the background paper I used. The image on it is muted green flowers, but to me it looks like bubbly poison.

Here are some larger pics of the individual bottles. I think my favorite part of these bottles is the metal-looking flourishes I used as "fumes". I purchased these a while back, knowing they'd come in handy sometime. I never dreamed they'd be used for bottle art!

I also really love the labels. They were all cut from this scrapbook paper. I have stocked up big time on it. I also used pieces of it for the trick or treaters on spools.

I'm going to be sending these out for trade in the Alpha Stamps swap. I can't wait to see what I get in return.

Saturday, October 13, 2012

Trick or Treater Hanger

I'm always wondering what I'm going to do with all the lids I remove from all those Altoids tins. I took this one and made a little Halloween hanging. I covered the front and back with heavy scrapbook paper, added an altered photograph of two little girls. Before I added the orange tinsel to the side, I punched a couple of holes in the top of the tin so I could wire a beaded hanger. At the bottom, I used a "trick or treat" icon and a gold bat charm.

I had the hardest time photographing this tin. The background behind the girls is actually a nice solid black. I need a desk top photo studio! Hopefully I'll get one for my birthday, which is coming up very soon.

Here's another try at getting that background to show up correctly.
If I get that tabletop studio, I'll try to get a better photo.

Wednesday, October 10, 2012

Three Little Kittens

I have a hard time keeping the Vintage Cats in my etsy store around this time of year, so I made a few new ones. It's funny to see how the faces have evolved in the last couple of years. I had started making their mouths so huge! When I pulled out the original cat this year, the difference was really striking. Here's the first cat I made, back in 2007.
And here are the three I just made. With this set, I made the mouths smaller than I recently have been, but they're still way bigger than this original.
I think the newer cats look less constipated, don't you?


Tuesday, October 9, 2012

Skeleton Shrine

Here's what else I did with a plastic skeleton: I severed all his limbs, put him back together, and stuffed him into a spider shrine.

I crowned him King of Halloween, and gave him a pumpkin.

Here are the back and sides of the shrine:

And the front, with the door closed.

If you'd like to decorate a shrine like this, you can find it here, at Alpha Stamps.

Saturday, October 6, 2012

Jack Boney

Why should kids have all the trick or treat fun on Halloween? Jack Boney wants to join in the celebration. I dressed him in a festive collar made from silk flowers, a paper party hat, and a glittery mask.
Then I handed him a trick or treat banner and a tiny jack o'lantern, and perched him on a decorated spool.
Coming up later this week: another skeleton perched in a spider shrine. Stay tuned.

Thursday, October 4, 2012

Little Trick or Treaters

I love figures on spools. When I saw some cute Halloween spools made by Lynn Stevens, I thought, "Why have I never done trick or treaters?" I loved what she did so much that I set out to make my own version.  I took figures from various Alpha Stamps collage sheets and dressed them up, adding hats, masks, rhinestones, and glitter, and then gave them all tiny pumpkins and a "trick or treat" flag.

Here's the first one I made. Let's call her "Patsy".

I found that pencils fit in the spool holes perfectly, so that is what supports each figure. The flagpole is made from a bamboo skewer, and glued in place with E6000 glue. The wings are actually bat cutouts, also from Alpha Stamps. 

I loved making that first little trick or treater so much that I had to make a few more. Here's Benjamin:

And Margie:

And Anna:

And a group shot:

This little fellow didn't make it to the group shot, but still wanted to be seen. Here's Charlie. He's a little shy.
Trick or treat!

Tuesday, September 11, 2012

Another Cab Card Curiosity: The Family

As promised, here's the other cabinet card I designed for the Alpha Stamps swap. This one starts as a nice family portrait on the outside. It's hinged on the bottom, and held closed with a ribbon.

When you open it though, you see that this family has some rather disturbing members: old (and somewhat creepy) dolls, and large baby-headed men:

The figures standing in front are attached so that they pop out when the card is opened, for a 3D effect:

Cracked baby heads are a priority here!

This was one of the more challenging assignments for me, but I really enjoyed it once I got my head around it! Now, on to Halloween. I got a box full of creepy Halloween art supplies in the mail yesterday, and I can't wait to get started.
Related Posts Plugin for WordPress, Blogger...