Design team member of Alpha Stamps, lover of ephemera and junk.

Welcome! Grab a cold one, kick off your shoes, and have a look around.
Showing posts with label book. Show all posts

Saturday, July 31, 2021

Halloween Scary Book

It's never too early to start up on Halloween crafting! I used some Solid Moon Book Pages from Alpha Stamps to make a spooky Halloween book. A Haunted House overlay was the basis for the perfect cover art for the book. I painted the overlay black, and added scrapbook papers plus a moon and pumpkins from collage sheets to set the spooky scene. You can just see the tiny skeletons peaking through the windows. This book was bound with a Zutter Bind-It-All.

It was fun to mix and match Halloween papers to make each page different. Once each page was covered, I used lots of individual images from collage sheets to fill the space. I kept moving everything around until I was happy with the layout. For the really busy pages, it helped to take a photo before removing everything for gluing.  


The first page is a clowder of cats. Black cats, to be specific. I love the vintage look of these frightful  felines.

Next up, some jack o'lanterns. That background paper has to be my favorite.


Witch, please! It's so nice that this coven got together for a group photo. Better look behind you, witches.

These shady fellows are obviously up to no good. Are those the ghosts of past victims of this poison dealer?

The penultimate page features happy trick-or-treaters. Witch better have my candy!

I found the perfect image for the final page. It fits beautifully, and it makes me laugh to think that of all the scary things featured in this book, Medusa seems to finds the fun loving children on the adjacent page to be the most horrifying.


For a list of supplies, click here!

Wednesday, April 15, 2020

Covid-19, A Little Journal

Like most of the world, I have been sheltering in place for the last 34 days (yes, I'm keeping count). Crafting has been great entertainment, and one might even say, therapy. Making this Covid-19 journal certainly was that for me.

I cut up a lot of newspaper in the making of this book; the background paper for all the pages was created by gluing articles about the virus to the covers (made from a House Shaped ATC Frame set), and each of the pages, which are thin cardboard cut to size. I gave each page a thin layer of acrylic paint, a little ink, and some paint details. The type fades into the background, but if you look closely, you can still see lots of what it says. Anyway, enough chatter, let's look at photos.
The front cover. Hopefully this conveys the feeling of being stuck inside. I started out with just the "metal" bars, but then added the red arch to make it seem more restrictive. Even that didn't seem enough, so I added the "call again" emergency tape. Part of the beauty of having tons of collage sheets is finding something that just works. That emergency tape is actually a small cigar band image from the Mini Cigar Box Trims collage sheet.  Like all of the type throughout the book, with the exception of the snarky captions, the "COVID-19" title and the "shelter-in-place" type were also cut from the paper.

The expression on this face is everything.  All she needed was a mask, which I drew with colored pencils on a piece of typing paper, then cut out and glued down. My light table came in handy to show the shape of her face and and enable me to make the mask fit properly.

The bars on the inside started out as a decorative gate; I just cut off all the ornamental part, shortened them up a bit and painted them grey. Jail cell!

I don't know about you, but my husband and I are definitely enjoying some special snacks during this time, including Cheez doodles and peanut M&Ms. We are taking care not to overdo it, though, unlike this poor woman, who is obviously lacking a bit of self control.  Definitely a "state of emergency". I found this image of Cheez Doodles online, and sized it to fit. The tiny doodles on the left hand page were drawn with colored pencils.

As someone who really doesn't mind spending a lot of time at home (when it's by choice!), I did note that other than not having the option of going out, some things hadn't really changed. I did, however, quit using a hairdryer and wearing makeup and jewelry, and we do seem to go through the alcohol faster than usual.

It can be hard to be isolated with family members for long periods of time. I think this page is self-explanatory. Not to worry, though, so far no one here has needed severe "correction". This knife was drawn with a silver Sharpie.

And the back cover. I'm sure you agree. For a complete list of supplies, click here.
*I hope that neither you nor any of your friends or family has been infected with this terrible virus. Please know that this book is not meant in any way to make light of this serious pandemic. My family has been very strict in socially isolating, and this is just my way of coping a bit. Stay safe out there!*

Saturday, April 1, 2017

The Little Book of Perfect Men

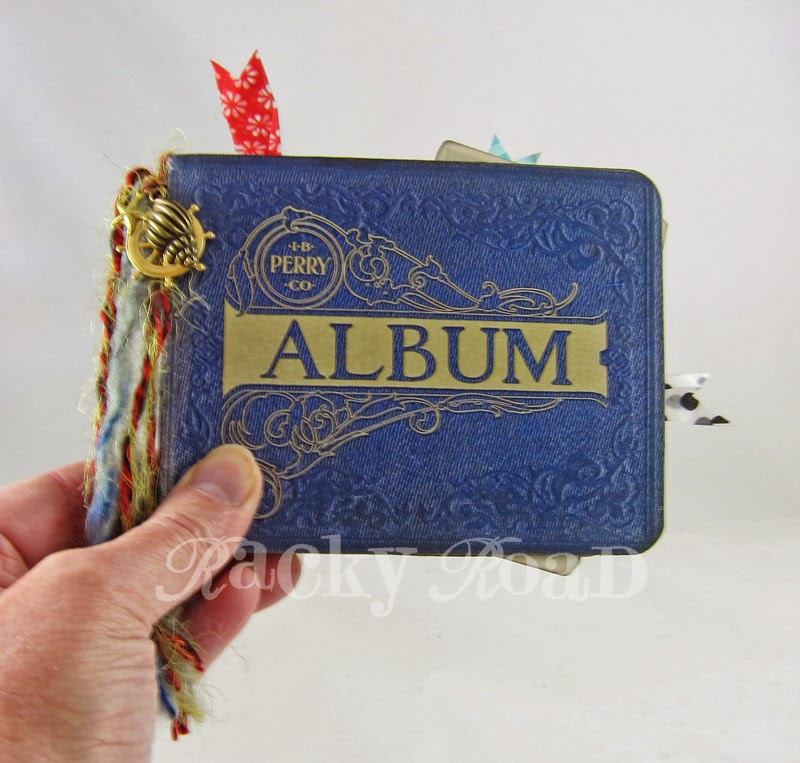
Ever wish you had the perfect man? What would he be like? Perhaps a little like the perfect men in this perfect little book! This month, Alpha Stamps is featuring men- wonderful images from the 50's and 60's. They're perfectly sized for ATCs, and the ATC sized Hidden Drawer Book Box is the perfect place in which to store those cards portraying that perfect guy.

I was lucky enough to find the perfect scrapbook paper for the pages of the book. It almost looks real. I used stripey scrapbook paper for the front and back cover of the book. The inside of the cover and the secret drawer of the box are painted with paint I mixed to match the color of the stripes, and then  ink from an almost-dried up ink pad was applied with a stiff brush to get the distressed look. 

Here you can see the secret drawer, opened and filled with ATCs. The red ribbon is attached to the bottom of the box, which makes it easier to remove the cards.

To access the cards, just lift up on that ribbon and they pop right out.

You can see here how the ribbon is attached at one end of the box, and then is threaded up to the top so that the cards lie on top of it.

Lots of these guys look like they might enjoy a nice smoke, so I colored a pipe from the Dapper Gents shape set and glued it to the back of the tab.

I used precut Chipboard ATCs to make the cards sturdy. They were on the large side of 2 1/2" by 3 1/2" and fit too tightly, so I trimmed about 1/16" off of two sides. They're still the correct size; they just hit on the left side of the ruler line. I also used a punch to round the edges. I found it difficult to punch the corners when the scrapbook paper was already on the blank, so I punched out the blank, adhered the paper, and then punched the corners again. Easy peasy!

I had so much fun going through my collage sheets finding perfect men and imagining what sort of things they might say. Here are all my perfect guys together. #1 is the ultimate perfect guy for me; that's actually my husband there, saying "Here, let me bring you a drink." No, that's not his real hat: it's from the 50's Floating Heads collage sheet.

The little book comes flat in pieces, but it's very easy to put together. Using the photo below, #1 is the front cover, and #3 the back. There are three pieces that fit in the slots on the back to form the pages of the book. #4 shows the tray of the drawer, and #2 is the spine of the book. It is glued to the long edge of the inside of the drawer. I used Aleene's Tacky glue to adhere all the pieces and they are nice and sturdy.

To make sure the spine of the book was in the right place in relation to the covers, I put the already painted drawer into the constructed book, and then added glue. I did not paint the sides that will be adhered together, thinking that might help with the bond. 

Once the spine was lined up correctly, I gently removed the tray with the spine attached and used clothespins to hold the spine in place until the glue set.

Little tip for doing a collage: I used three different images of men for the front cover of the book. To get an arrangement I liked, I cut out several images and played with them until I got something I liked. I took several photos during this process. Here is the "almost right, but still not quite" photo. Ack, too many men! Once I decided to keep it to three, things looked better. Having reference photos of your work in progress is great in case you decide to go back to a previous look. Once I settled on the three men for the front cover, I used tracing paper to trace the men in position. This made it easier to glue them on exactly where I wanted them.

And here they are, my perfect men. I will say, they are certainly a handful!

For a complete list of supplies, click here.

Saturday, March 29, 2014

Summer Memory Mini Book

What's new this month at Alpha Stamps? Vintage albums with a beachy vibe! Here's a little souvenir album I created with all the fun new products. Hopefully it brings to mind someone's long ago summer fun memories.

The cover. The book is such a fatty that it needs clips to keep it closed. Thank goodness washi tape can make a plain black clip a little more fun! Can you believe that cover is from a collage sheet image, just glued to shirt cardboard? It looks like real leather!

All the inside pages of the album are made from 7Gypsies scrapbook papers. All splayed open:

I used a combination of collage sheets, vintage photos from my collection, fun little envelopes, and rubdown numbers. Here are the rest of the pages. I won't bother you with too much chatter about each one. I'll let most of them speak for themselves.


Tag removed:


A great old photo of two couples on vacation, and some tickets.

I love using the glassine envelopes. Hole reinforcements make a great grabby spot for some baker's twine so you can pull the tags out.

One more picture of the couples, Gus, Irene, Maddie, and Al. Those are their real names, they're written on the back of the photo.

This photo is from a collage sheet. The paperclips have washi tape flags on them.

Last page.


Wanna make a fun memory book like this one? For a list of where to find most of the supplies, click here.

Wednesday, June 19, 2013

Big Top Tunnel Book

In my last post I featured a couple of peekaboo cards made with the chipboard frame set from Alpha Stamps. Here's what else I made with one of those sets: a fun little tunnel book using one of my favorite themes: the circus!

Here's a photo of the book when it's flat, just so you can get a good idea of its size. The frame set itself is 4" x 4". I added a little cardboard for the peak of the tent. 

The Tiny Circus and Circus Parade collage sheets are probably my favorites from Alpha Stamps. I used images from both of them, plus some striped Graphic 45 paper, for this project. 

Sadly, it's really difficult to photograph the depth of the book. I would guess it's about 2" wide when opened. You can just barely see the string of stars on a wire which hangs across the middle of the opening in the tent.

Here's the side view, where you can see the accordion folds and see the depth a bit better. There are about five layers of images, causing, as the sign proclaims, "controlled mayhem". I drew those juggling pins that are scattered along the bottom, using some Google images for reference. Now I want some old juggling pins. I found some real beauties on eBay!
Figuring out the logistics on how to make this tunnel book was a bit of a challenge, but lots of fun. I have one more set of those cards. I may have to do another.

Thursday, March 7, 2013

Easter Parade and new Alpha Stamps swap

Spring is here! Alpha Stamps is holding an Easter Parade Accordion Book swap, using chipboard egg covers. Here's what I made as a sample. Front cover:

When you open it up, you see the parade. I cut animals out of a couple of different fun collage sheets to create the parade.

Back cover: 
Hop on over to Alpha Stamps to get the details of the swap! You have until March 31st to have your art in.
Related Posts Plugin for WordPress, Blogger...