Design team member of Alpha Stamps, lover of ephemera and junk.

Welcome! Grab a cold one, kick off your shoes, and have a look around.
Showing posts with label peg doll. Show all posts

Wednesday, June 14, 2017

Little Garden Book

I enjoyed using the Alpha Stamps Hidden Drawer Book Box in my The Little Book of Men
project so much that I asked Leslie (Queen of AS) if I could have another one just for fun.  I got a brightly colored paper pack and was inspired to do a Spring Garden theme. An image from the Women and Flowers collage sheet was the perfect size and had all the right colors for the cover of the book.

I love how this "woodgrained" paper looks almost like book pages. Here's the spine and top of the book:

The Little Book of Perfect Men held ATC cards, but this book has a secret that's a bit more fun: a tiny garden and a tiny gardener, plus a pretty songbird and a sweet little bunny.

I used some Leafy Green Underbrush for a grassy lawn, and a stick from my yard for a tree. Some tiny leaves from some Miniature Coiled Leaf Stems were glued onto the branch with a little dab of hot glue. The bunting and the birdhouse were cut from the paper that was featured on the sides of the secret drawer, and the pennants in the bunting were attached to the back with dimensional glue dots to give them some depth.

I thought this would be a great playset, so the rabbit and the peg doll are removable.
Now you can take a little garden with you wherever you go! For a complete list of supplies, click here.

Saturday, March 11, 2017

Big Red Circus Wagon, with Lion Cage tutorial

The circus is in town!
I can't help but be a little sad that the Ringling Bros. and Barnum & Bailey circus will be closing for good this year. I have always loved the circus, and making circus art. It just so happens that the Alpha Stamps mini 3D Cinderella Coach, with a change of color and adornments, makes the perfect little circus wagon for little peg people. It's been almost two years since I made my Tiny Peg Circus, and it was time for those little performers to have a means of reliable transportation.


The wagon is just the right size to hold six members of the circus. For safety reasons, no one wanted to ride with the lions, so I constructed a little cage to tag along with the wagon. I'll show you how that was made at the end of this post.

Before assembling the wagon, I painted the body red, and the front and back pieces brown. The front seat was painted black, and given tiny gold "buttons", tiny circles which came from Dazzles gold stickers. Some striped paper went behind the seat, and lots more of the Dazzles stickers were applied around the window and doors and along the roof line. Metal stars, leaves, and filigree pieces add a lot of circus glitz.

The back of the wagon also has some stripes, plus a "wooden" painted platform that is just the right size to carry the strong man's barbells.

Here's a view of the back, without the barbells.

The lion cage is tiny, but large enough to comfortably carry a couple of felines. The cage was constructed with cardboard and part of a set of chipboard gates. Those gates made the perfect fancy bars for the cage.

To make the cage, use the smaller gates from the set. Remove the long side of the gate, seen on the left gate below. Figure out how large you want your cage to be. The walls of this one are 2 3/8" tall, and the front and back are 1 5/8" wide. You'll need four slim pieces to fit on each side of the bars for the front and back of the cage; these are 2 3/8" tall by 3/8" wide.

Paint the front and back bars of the gate gold with a paint pen, and paint the remaining cardboard red. Using Aleene's Tacky Glue, glue the narrow pieces right up against the bars, and then glue on the front and back at 90 degree angles. Working quickly, glue the bottom of the cage into place. Using an x-acto knife, carefully cut the bars flush with the bottom of the cage. Keep the part you cut off; you'll use that later. Attach the back of the cage, which consists of the bars with the thin strips attached, and then cut those bars off, again, flush with the bottom of the cage.

Using the gate parts you just trimmed off, cut the excess bars off as shown below, and then remove one of the finials so there are six remaining. These will now fit the front and back of the wagon. Glue into place along the tops.

Glue into place along the tops, as shown below. Wrap a Dazzles sticker around the top of the bars and the bottom of the cage, and glue stars on the front and back corners. Use E6000 to attach the tiny ring handle, decorate the back, and add a flag if you're feeling festive.

To attach the wheels, add a piece of cardboard to the bottom that's slightly smaller than the bottom itself. This will help stabalize the included rounded pieces that will hold the axles. Glue them in place as shown. Thread the axles through the holes, and put the wheels on. If the wheels tend to slide around, take some masking tape and roll it around the axle. That will keep the wheels in place. At the left of this photo, you can see the trailer hitch. It's simply a piece of cardboard with a hitch fastener punched through one end.

I hope you enjoyed seeing my circus wagon even half as much as I enjoyed making it. Let's all wave goodbye to the circus as it leaves forever.

For a complete list of supplies, click here.

Thursday, December 10, 2015

Santa and His Elves

I've been really busy decorating my house for Christmas this year, but did have time to whip out a few seasonal peg dolls. Here's Santa and a couple of his helpers. One of the elves holds a shiny silver package, and the other a candy cane.

I also made a friend for them: Jack Frost. Brrr!

All the wintery gang together:

I hope your holiday season is filled with joy!

Wednesday, September 30, 2015

Halloween Peg Doll with Boo Blocks

One of my favorite swaps on Craftster this time of year is the One Tiny Thing October Holiday swap. My partner mentioned she loves peg dolls, so I decided to make her a couple, along with some little Boo blocks. The only rule of the OTT swap is that your swap item has to be under 4". These blocks are 3/4" square, and the little cat is 1" tall, for reference. Depending on your monitor, you're probably seeing them actual size.

One thing I thought would be fun is that they can be arranged in many different ways. I hope my the recipient enjoys playing with them!


Saturday, September 12, 2015

Halloween Tic Tac Toe

There are two things in this crafty world that I really love: Halloween, and toys. Oh, and peg dolls, so make it three. This month at Alpha Stamps, we're doing haunted houses, and after my adventure in making a box last month for my Zombie Cars, I thought it would be fun this month to try my hand at a box that holds a game of tic tac toe. 

The lid of the box is the haunted house part, which can be used as a decoration if you don't feel like playing the game. I kept the top relatively flat, but it does have some fun dimension, like the cat eye on the turret, the fuzzy felt bats, and the acrylic black cat on metal fence at the front. The fence is attached with some foam tape so it stands away from the house a bit.

Who's that looking through the window? Looks like a tiny vampire.

Here's what you'll find when the haunted lid is removed: the "Boo Crew", a set of five wrapped up zombies and five crazy vampire bats.

The bat on the far right is the one that was peeking through that window. He sits a little taller in the box so he can see out. Isn't that Boo Crew sign cute? It's a sticker that came with the set of scrapbook paper I used for this project.

The mummies were painted white and then wrapped with thin strips of cotton fabric. I used some light grey markers to help define the edges of each strip. The bats were given tiny ears made using Apoxie Sculpt. Their wings are made from the felt bat stickers. I removed the sticky part from the back of the sticker, cut off their heads (sorry!) and glued the front of the sticker onto the back of the bats so that the detail shows. 

The tic tac toe letters on the back of the haunted house were cut from scrapbook paper using a Silhouette Cameo. The cat in the pumpkin and the spooky words are stickers that came with the scrapbook paper. The bottom of the box is the game board. I used some spiderweb paper and a painted chipboard skeleton to jazz it up a bit.

Let's have a game! It looks like the vampire bats will be victorious in this round. Tricky little buggers.

The hardest part of this entire project for me was the box insert. I wanted each piece to have the same amount of space in the box, but the bats are much bigger than the mummies and demanded more room. After lots of ciphering, I came up with this layout. Once the holes were cut, I glued cardboard pieces around each opening to keep the pieces from rolling around. I thought you might like to see how the flip side of the insert looked while in progress.
I painting the lid of the box (which is attached to the back of the house) black, which looks great behind the mummies, but the black bats needed a lighter background, so I glued orange paper with stars on it behind them. They're much happier now.

Stay tuned, there will be more Halloween to come in the following posts. Meanwhile, if you need supplies for a project similar to this one, or just need some cool stuff for haunted houses, click here!

Wednesday, September 2, 2015

Fruity Friends

More peg dolls! I was so inspired by all the tiny fruits they are carrying at Alpha Stamps now that I just had to make a few little fruity friends. Inspired by the color of the fruits, I painted four 1" pegs to match, and then sewed them little hats and capes.

Their hats and capes are removable, and sometimes, they get a kick out of switching things up.

As I was looking at all the fruit, I couldn't help but think of Carmen Miranda. With the help of a little Apoxie Sculpt and a glue gun, I layered lots of different fruits on her head. She loves this fruity hat!

Carmen and all her friends.

This little rabbit hopped on over, but he's not interested in the fruit. All he wants is carrots!

I can't get enough of those wooden peg dolls, or the adorable mini fruits and vegetables now available here at Alpha Stamps. 

Saturday, July 11, 2015

Tiny Halloween Friends

Halloween in July? Of course! Halloween is perfect for all seasons. I don't know why I have been so enamored of peg dolls lately, but I just have so much fun with them. A few days ago, I made this little 1 3/4" tall witch. Isn't she cute with that little trick or treat bucket? The brim of her hat is cut from black cardstock, and the remainder of the hat is Apoxie Sculpt clay. I really like using Apoxie Sculpt because not only can you sculpt with it, it's an adhesive as well, so once you get the shape you like, you just plop it on and it sticks - no glue necessary.

Anyway, after I made the witch, I remembered that I had several different sizes of Bagatelle Boxes
from Alpha Stamps, and looked through them to find one to hold my little witch and her pumpkin.

The 2" by 2" box was the perfect size, with plenty of room for a flying bat in the background. I decorated it with some Halloween paper, and then added a vintage pumpkin cupcake pick, some tinsel, and half of a medallion on top. Voila! My little witch has a cozy place to hang out. Watch out for spiders!

Look how tiny!

She looks a bit lonely, no? I decided to make a few friends for her; little trick or treaters. A cat:

A little devil:

And a crazy bat:
Other than the bat wings, which are actually a chipboard bat glued to his back, all the ears, horns and tails on the pegs are made from Apoxie Sculpt clay.

Friends in the pumpkin patch!

And in the palm of my hand- I love these little pegs.

Need supplies? Click here!

Monday, May 25, 2015

Fairies Three

I had some pegs left over from my last project; tiny little things in dresses. I decided to make a little trio of fairy queens with them. Have I mentioned before how much I love those wee crowns? I distressed their clothing a bit, because everyone knows fairies are hard workers. Each fairy measures 1 1/2" tall, including her little crown.

Not sure what the two on the right will do for you, but I'm pretty sure the one in the blue dress with the apron will wash the dishes for you if you ask nicely.

Saturday, May 2, 2015

Tiny Peg Circus

Step right up to see the greatest show on earth! An entire traveling circus, tucked up inside a tiny trunk. Well, OK, full disclosure: the entire circus doesn't fit into the trunk, but most of it does. I just got a little carried away and kept adding extra acts and accessories. Making little peg circus performers is just too much fun.

Here's the whole gang, standing in front of their opened trunk. 
 Ready for a ton of photos? Brace yourself!

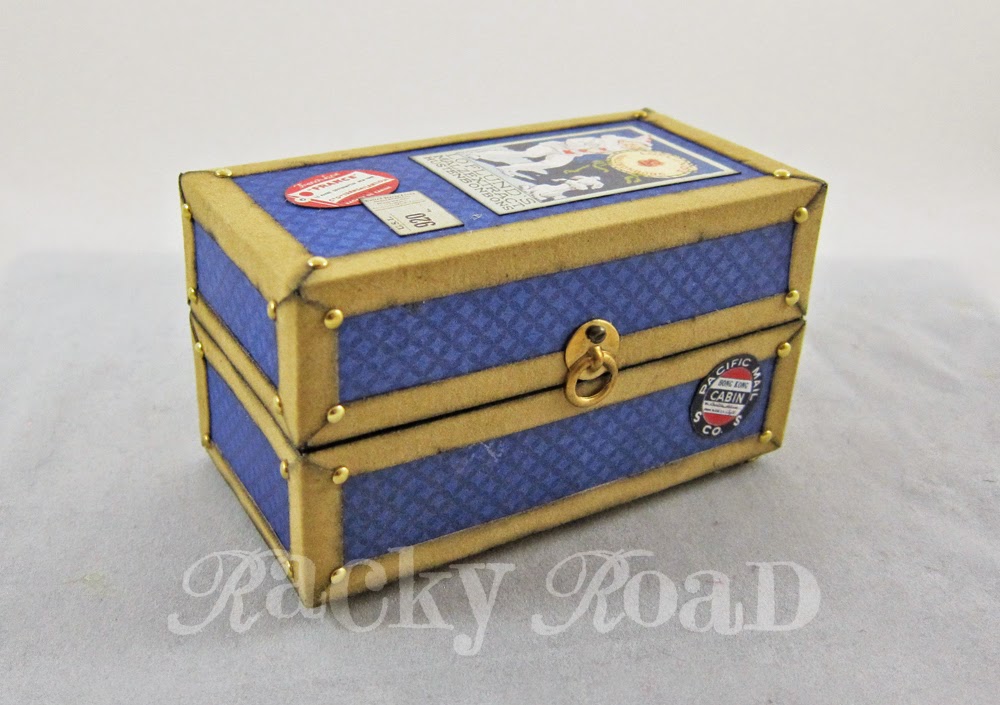
First, the trunk. I made this from the same 4" by 2" by 2" chipboard steamer trunk kit I used to make the Tiny Traveler. This one's a little brighter in color, because hey, it's a circus.

Opened up, you can see that five of the circus performers fit in the lid. Behind them, the flags for the ticket booth and the ringmaster's whip are stored. The three drawers on the right hold things like barbells for the strongman, knives for the knife thrower and his assistant, and a rubber chicken for the clowns. The bottom drawer also serves as the ticket booth, once it's slid out and turned around.

And here comes the circus! First up, there's the daring knife thrower. His revolving wheel and sign are found on the bottom of the trunk. That is one brave assistant he's working with; look how close those knives are. I think the sign should read "Daring Knife Thrower's Assistant"!

On the other side of the opened trunk, you can see Pete the ticket seller, manning the bottom drawer/ticket booth, Magnificent Mighty Max and his 500 lb. weights, and Red, who sells cotton candy. That cotton candy is actually pink packing peanuts, cut down and stuck onto toothpicks. Mmm, only two treats left, better get 'em while you can!

Clowns! You gotta have clowns at the circus. Here's Bingo and Twinkle with a big red ball and a rubber chicken. I hear their act is hilarious.

Finally, here's the act that broke out of the trunk: the Amazing Lion Act. The ringmaster seems to have things well in hand with that whip of his. It's made from a thin piece of wire wrapped with black embroidery floss.  The lion's hoop is made from a plastic ring and a 1 inch dollhouse hat stand with the "head" removed.

Here's the gang all together. I'm excited to announce that I made a special Tiny Peg Circus collage sheet for Alpha Stamps featuring circus signs and costumes that you can wrap around wooden pegs to make a circus of your own. Each of these circus performers was made using that collage sheet. Wrapping the pegs is relatively easy. I'll show you how.

First, carefully trim out the desired costume, and then paint the face, hair, and shoulders of your peg person. I used Delta Ceramcoat AC Flesh color for the people's faces. Once the paint is dry, apply a nice coat of Mod Podge all around the body part of the peg.

Take your trimmed costume, and center it below the face. Make sure the bottom of the costume is perfectly lined up with the bottom of the peg.

Wrap the costume, making sure it's on straight and that there are no wrinkles.

Once the costume is secured all around the peg, it's time to wrap the neck. I found it best to add more Mod Podge around the neck under the tabs before this step. Get it good and wet!

Starting with the front, work your way around, pushing the tabs in as you go. There may be a little bit of a sharp point where the tab comes together and the peg begins to curve, but you can push that in when the Mod Podge is still wet underneath and it will pretty much smooth out. Once you're happy with the way the costume looks, give the entire peg, including the head, one more coat of Mod Podge.

Mount extra parts, like the bow tie and lion's mane, to some thin cardboard to give them some weight. Coat them with Mod Podge and then cut them out with an Xacto knife. On the collage sheet, there are tabs on the lion's mane (see arrows below), but you don't really need them. The mane fits well around the face and a thin line of Tacky Glue adheres it nicely.

Here's the lion, with his mane freshly glued and waiting to dry. I like my pegs shiny, so once the Mod Podge and glue was dry, I gave each of the pegs a final coat of clear glaze. Helpful hint: I used a removable glue dot to adhere the peg to a plastic drink stirrer. That way, I could glaze the entire peg without worrying about stickiness or fingerprints. What a time saver!

Customization is possible: I used the same costume for the knife thrower and the ticket taker. To make them a little different, I gave the ticket taker a red bow tie and a little red pocket square. To make a female lion, I cut out just the ears and a tiny bit of connecting cardboard from the lion's mane. It's a circus; have fun with it!

One more photo of some of the gang before they pack it all up and move on to another town. I hope you enjoyed the show!

Need supplies? Click here!
Related Posts Plugin for WordPress, Blogger...