And here's what you'll need: Mod Podge (I prefer Matte Finish), an old ink pad, heavy scrapbook paper (for this tin, I used paper from Graphic 45), a sharp exacto blade, an inexpensive sponge brush, a straight edge, a ruler, a brayer if you have one, and an empty Altoid tin.
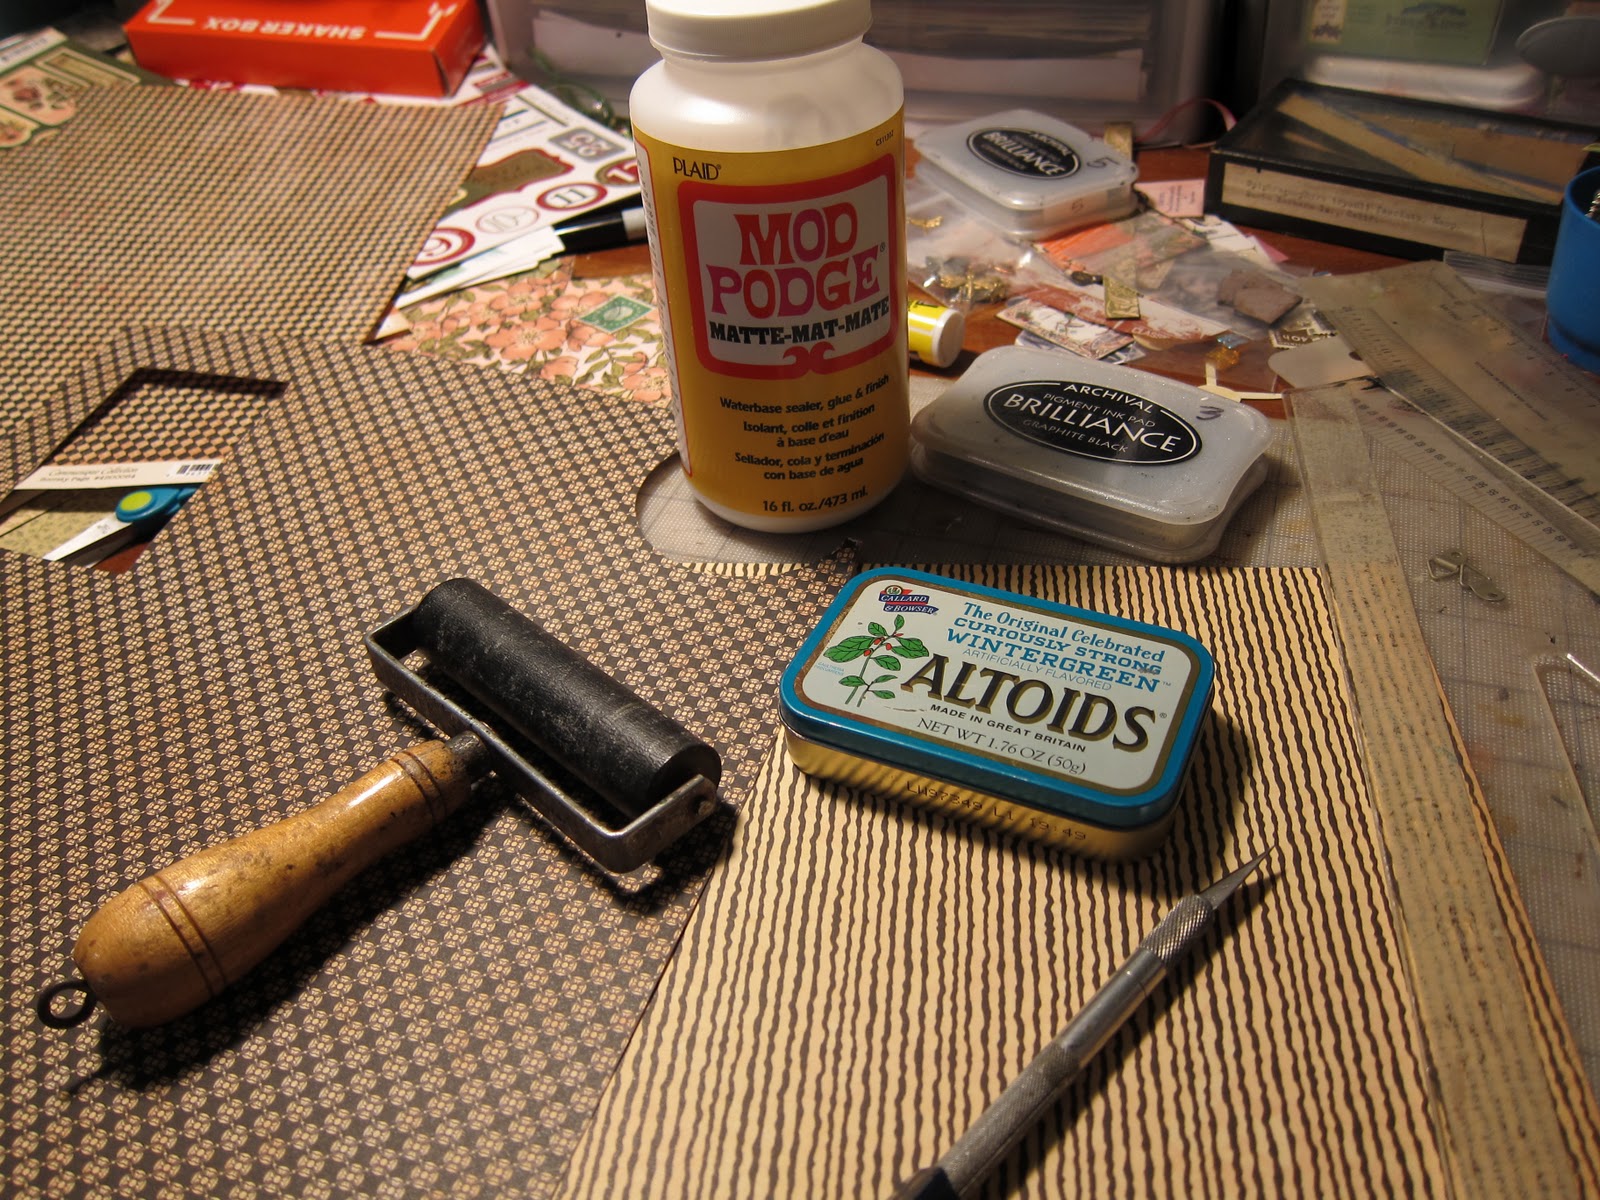
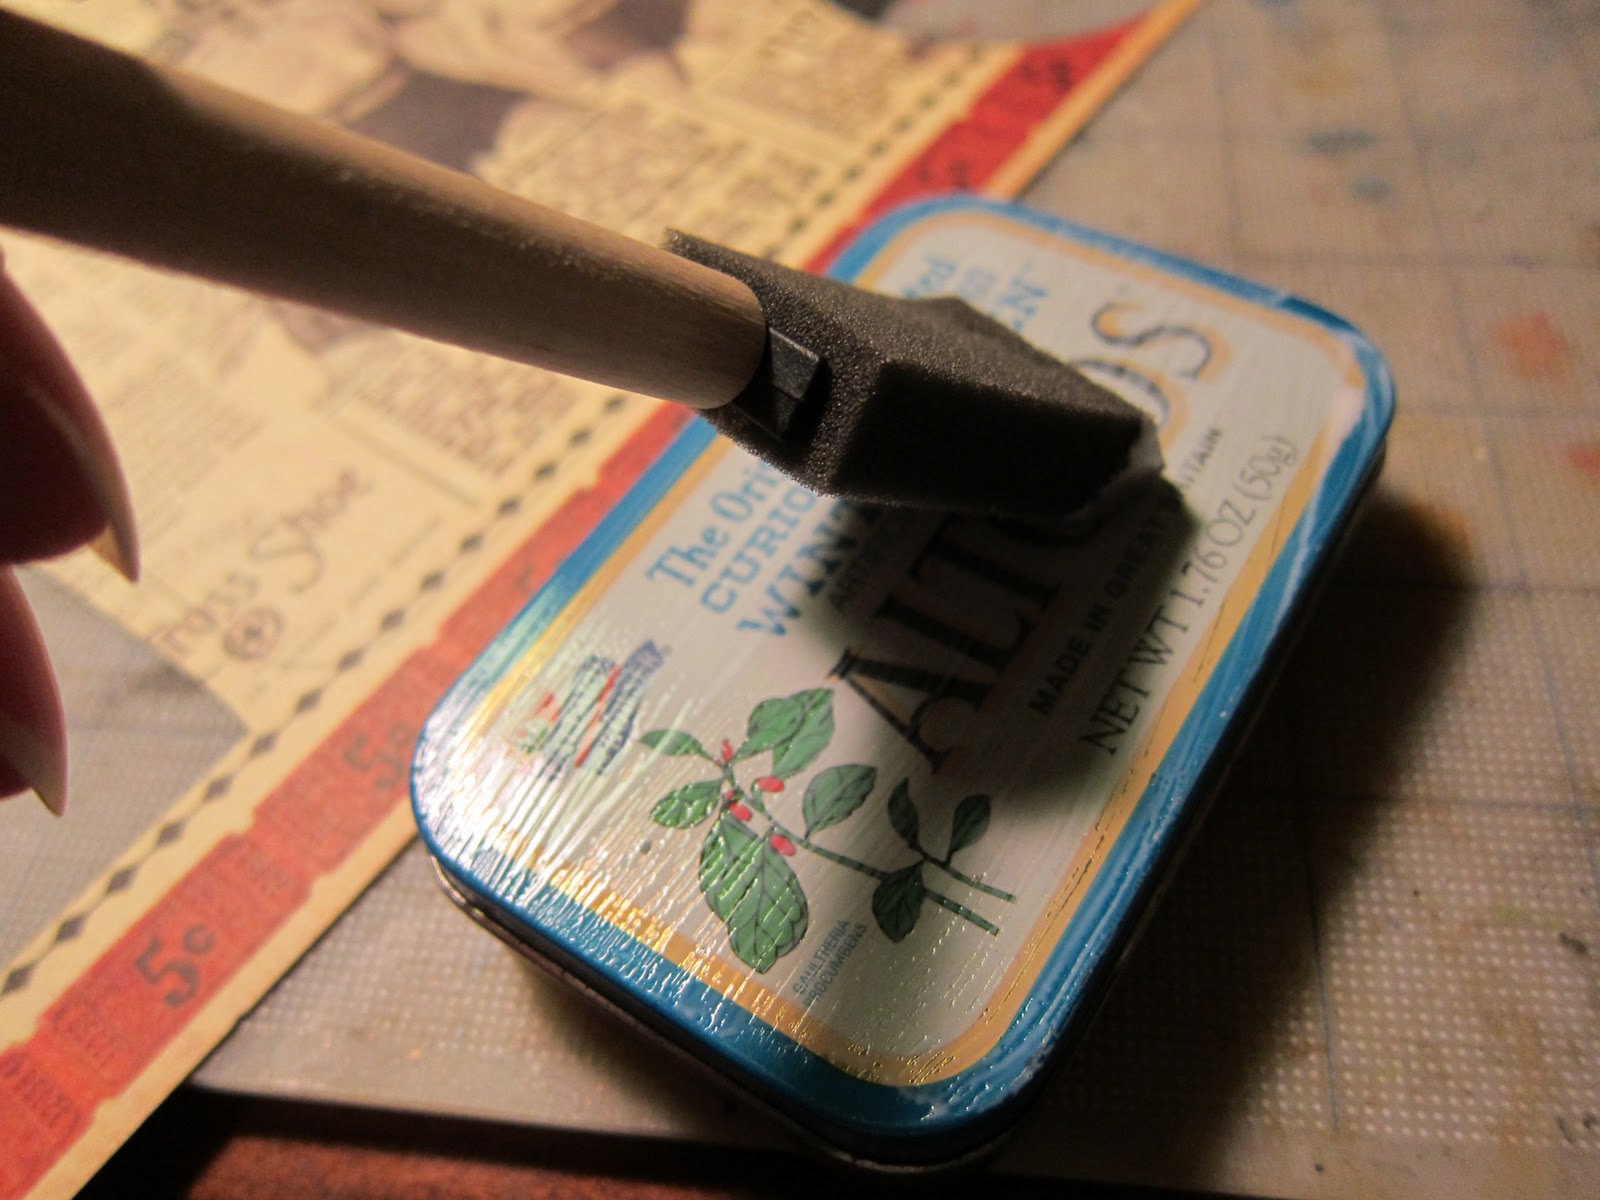
Figure out where your pattern will fall on the top of the tin by holding the tin and the paper up to a bright light. You'll be able to see the shadow of the tin through the paper. Center any motifs or patterns in the paper. Make sure you pay attention to placement. Carefully flip the paper over with the tin in place, and trace around the tin. Remove the tin, and brush a good amount of Mod Podge on the top of the tin. Once you've got good coverage, flip the tin over and put it down where you marked the position. If you've got a brayer, use it to make sure the paper is adhered well.
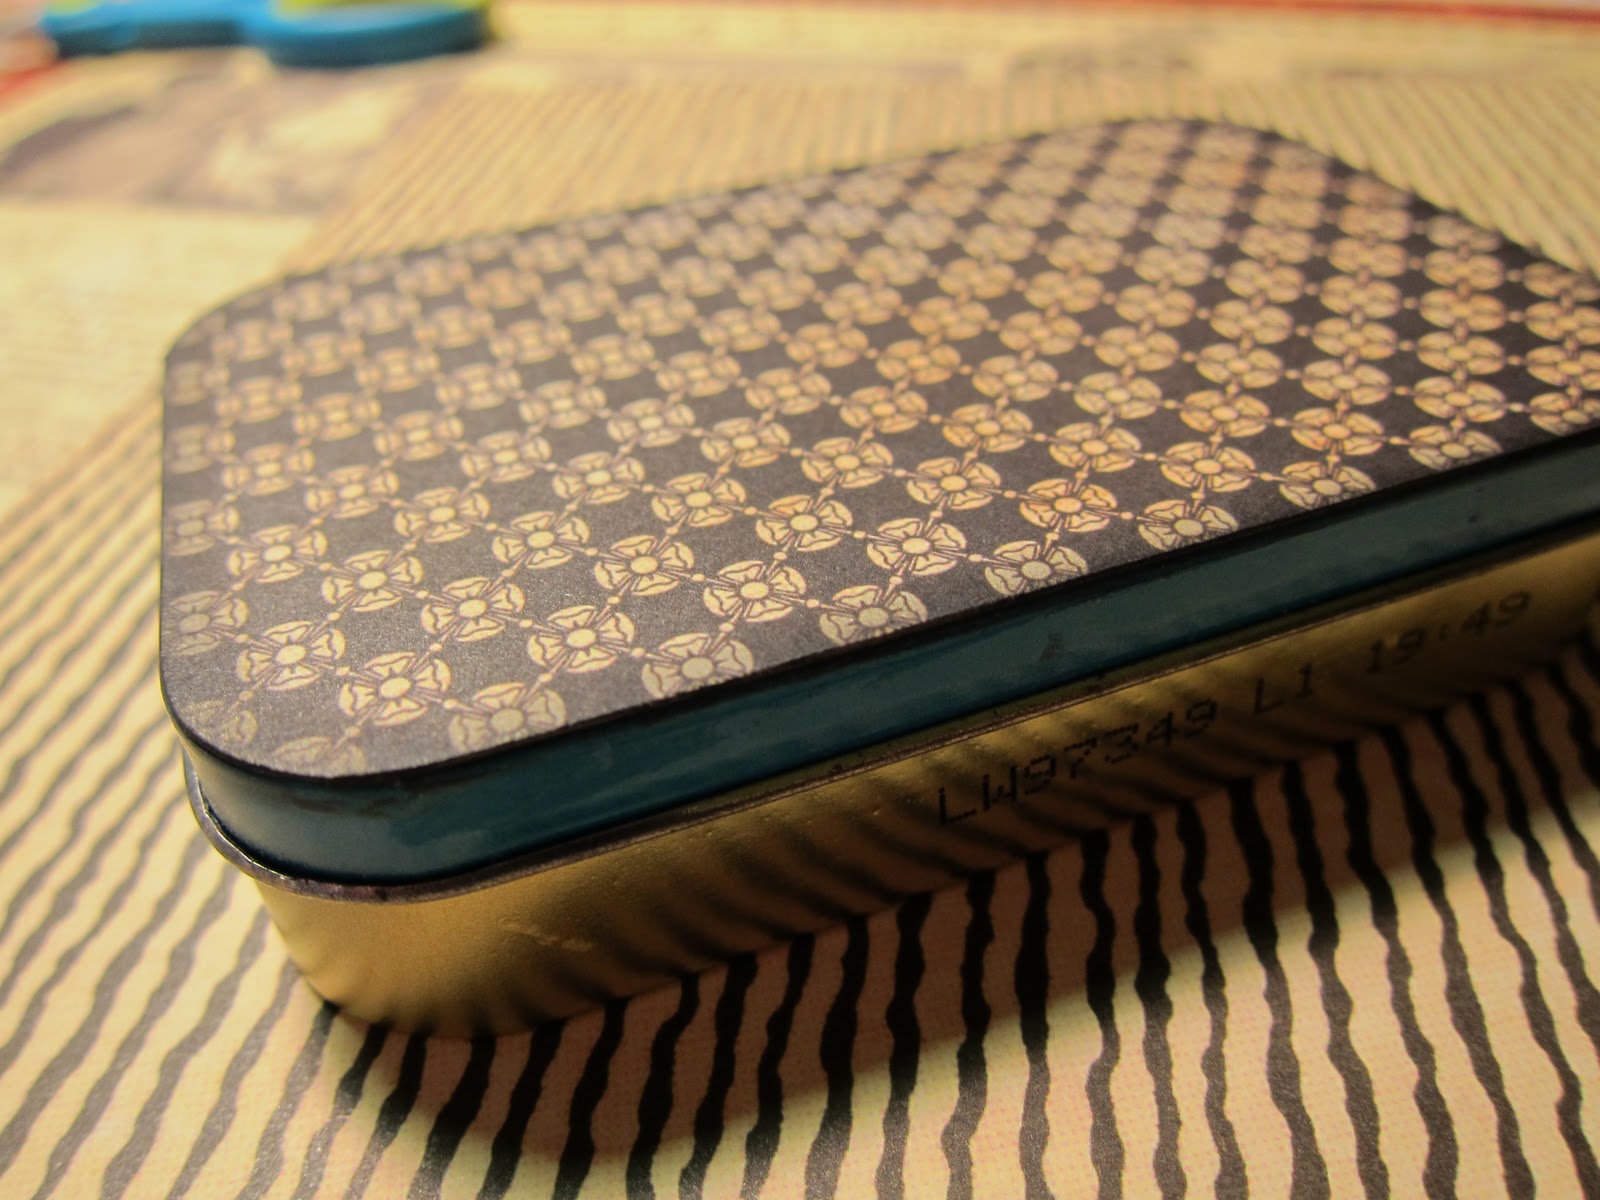
Now flip the tin and paper over, and with your sharp exacto blade (don't be stingy; change your blade often!), carefully cut around the edge of the tin.

Look how perfect the top is! This way of cutting it out assures a perfect fit every time. *Before you go further, if you don't have another tin to use for measurement, trace around the bottom of this tin twice with whatever paper you want to use for the inside (one piece for the inside top, one piece for the bottom).

Now take your old ink pad and scrape it around the edge to get rid of the stark white edge of the paper and to give the top a little aging. This will help camouflage any little flaws that may occur when you cover the sides. Cover the bottom of the tin in the same way, and ink the edges.
Very carefully measure the side. You will covering the sides with two separate pieces. You know the old saying: "measure twice, cut once". Do it. Even though I have altered several tins, I measure each time, just in case the tin I'm working on is a little different from the last.

Making sure your measurements are very accurate, cut the strips needed to cover the sides. Once they're cut, use your ink pad to distress the edges a bit before you begin to adhere them to the sides.

Let's do the top strip first. Check to make sure you actually cut it to the right size to fit. Then, brush the Mod Podge on the narrow side of the top, and begin attaching the strip, making sure you butt the paper right up against the little lip of the tin. Pay special attention to the corners, as the paper may want to gap in those areas. Smooth as you go.

You're going to have to cut a little around the hinges in the back. The best way to do this is to slice the paper carefully along the side of each hinge. Once you've made those four little cuts, use your fingernail along the long side of the hinge to fold the paper up on the hinge. You can cut the paper there if you wish, but generally folding it there will hide it well enough.

The strip of paper will be a little longer than you need. I find it's best to trim off the extra little bit when you see how the pattern of the paper will look at the overlap. Try to make the seam as invisible as possible. When you do the bottom, make sure the patterns on the two strips match up as closely as possible. Little things like this make such a big difference! You'll most likely have to cut out around the bottom hinge. Just use your blade to cut along each short side of the hinges, and then cut along the bottom of the hinge to remove the little flap you created. It's very important that your blade is sharp for this step, as a dull blade will tear the wet-with-glue paper.

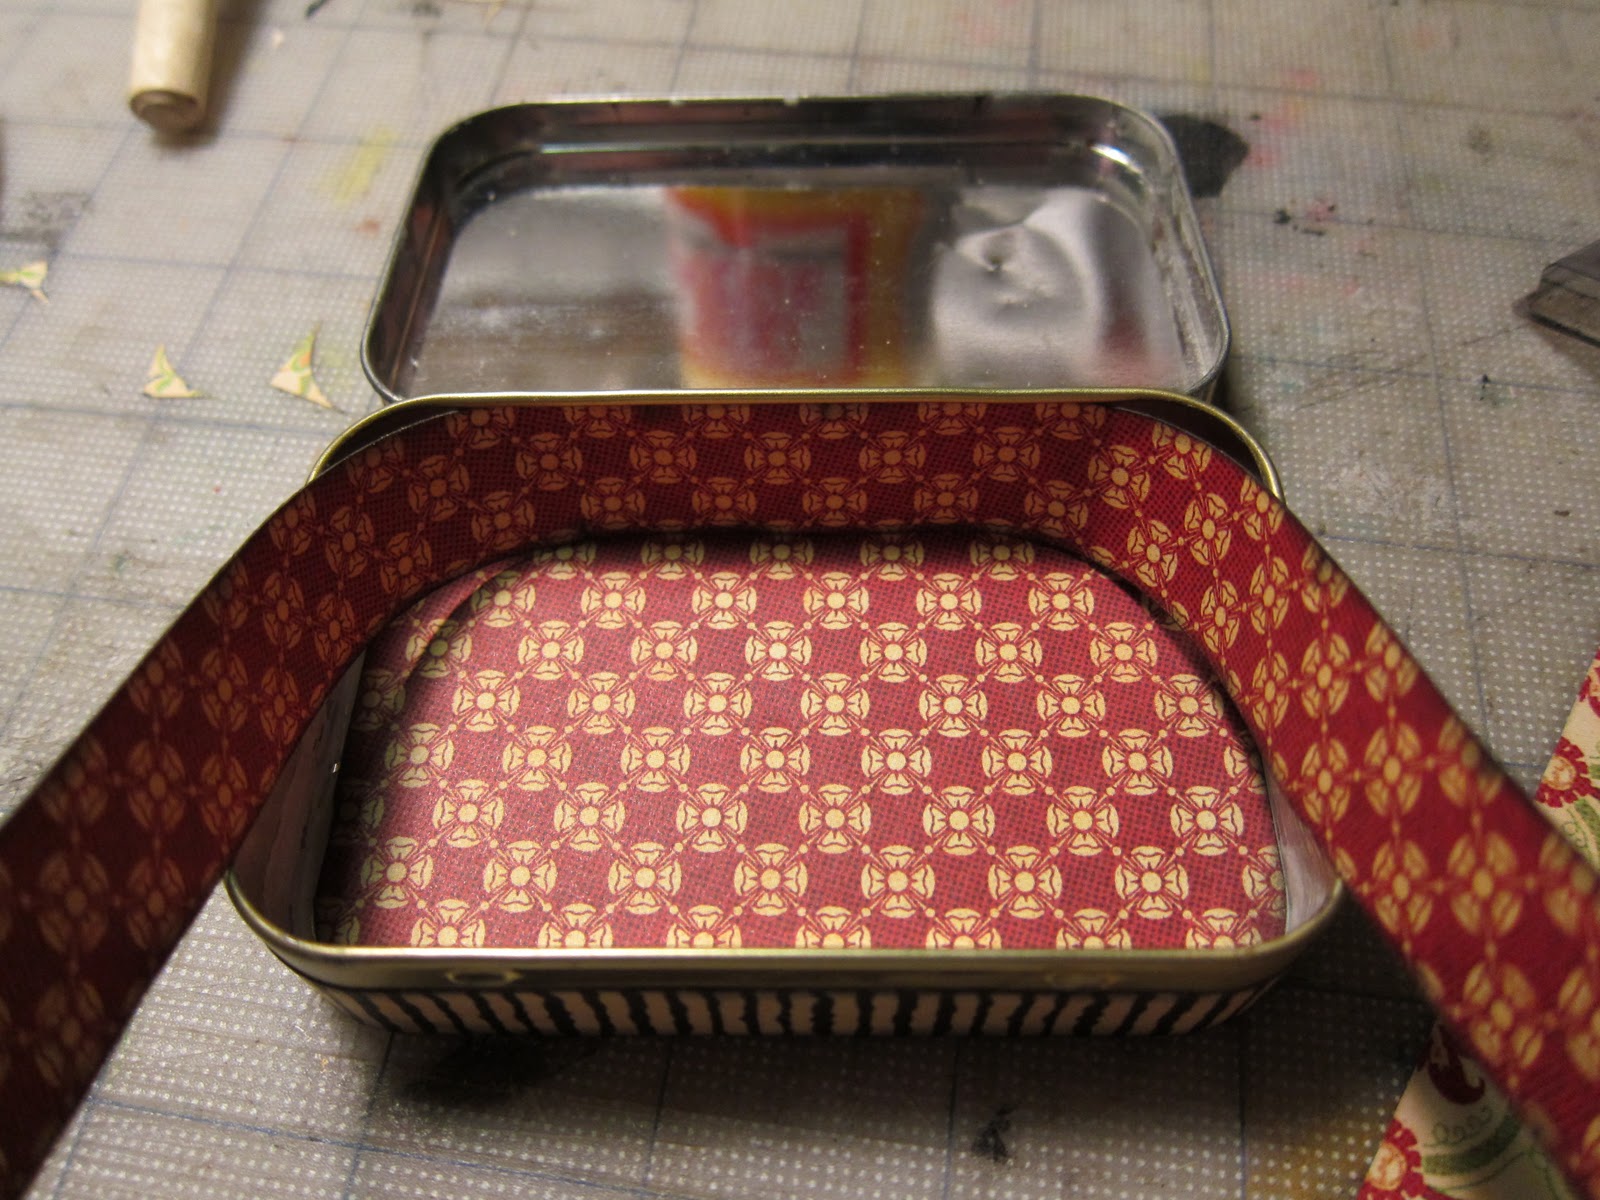
Now for the inside! If you haven't already done so, trace the BOTTOM of a spare tin onto the papers you want to use to cover the inside top and bottom of the tin. For the inside top, cut just barely within the lines of your tracing. Fit the paper into the top and make sure you have a good fit. Trim a little if necessary. For the bottom of the inside, you will have to cut a tinier bit more inside of your tracing lines. Remember, you can always trim more, so be conservative at first, and keep fitting the piece as often as needed, until you get it right. Measure the side of the tin, and cut a strip to cover. Ink all your edges, and then adhere the paper to the bottom of the tin. Put the side strip in, tucked carefully under the lip. Start from the back, as pictured, so your seam will be in the front of the tin, where it will be less noticable. Pay attention to how the pattern falls. Really tuck those corners in tightly. The paper is going to want to pull out, so watch it and make those corners obey!
Put a good coat of Mod Podge on the bottom and sides to seal. Glue in the top paper, and seal it as well.

If you're like me, you're going to have a little Mod Podge residue on the exposed metal parts of the tin, both on the side of the tin and on the inside lip of the top, as well as on the hinges. Scrape all that off with your fingernail. Clean that bad boy up!

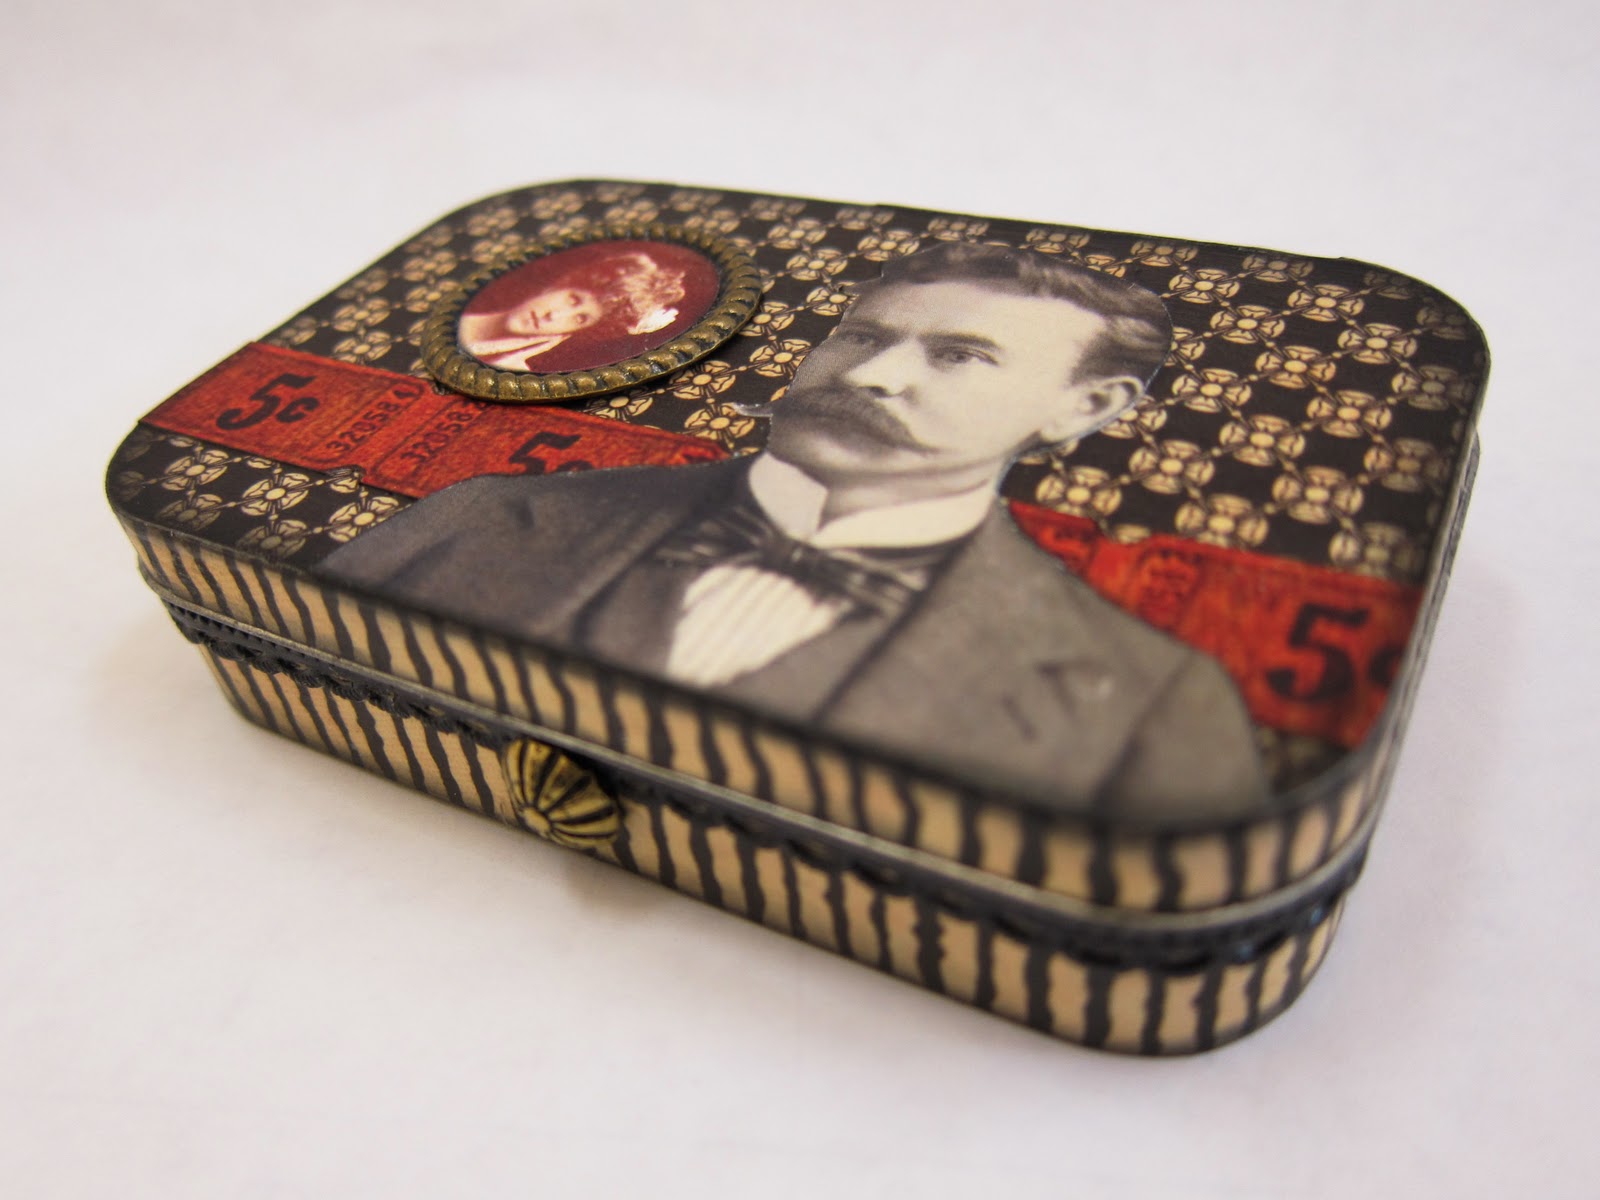
Now that your tin is fully covered, decorate and embellish. Find some good images to use. I used these images from Alpha Stamps collage sheets. To make sure your images fit perfectly, glue them on with parts hanging over the edges, and then flip over the tin and trim to fit. Make sure you edge the corners. Coat the entire tin with Mod Podge to seal any edges. When the tin is dry, you can further embellish it. I added some Dresden trim under the lip of the side, and a few metal bits. The Dresden trim was attached with Tacky Glue, but any metal parts are best adhered with E6000 glue. Here's the finished project:

Sometimes I like using beads for feet, or ribbons for trim; the decorating possibilities are endless. Don't ever throw those tins away. Make something!

Wonderful tutorial! Thanks! This will help out very much for the swap!
ReplyDeleteNice tute! Your stuff is always so well made and exact... mine is wonky as hell no matter how many times I measure :P
ReplyDeleteAwesome! This makes me excited for the swap, too :) I'm so glad you've got a blog, Racky. You're an inspiration! --Nooo
ReplyDeleteGreat tute Racky! Towards the end you said to "edge the corners." I'm a bit of a paper dunce. Does that mean to ink the edges like you talked about before, or is it something different?
ReplyDeleteThis tutorial rocks! Thanks so much.
ReplyDeleteCheers!
Whew. Looking at your delightful finished tins, I was hoping for a tutorial...and here it is. However, easy? I would say no. Still, wonderful finished results. Thank you for sharing your tips.
ReplyDeleteThank you so much for your Tutorial on these little boxes! To stinkin cute! I gotta make one!
ReplyDeleteCathy
scrapncathy.blogspot.com
This is an excellent tutorial ~ I can't wait to try it. You have such a fun blog. Your art work makes me smile!
ReplyDeleteThanks, Marie!
ReplyDeleteI have just started making altered altoid tins and your work is an inspiration .Thank you very much for sharing. I added a link for your blog on mine...
ReplyDeletehttp://mystichillsngaroma.blogspot.com/
Thank you again!!! love your work
do you ever lightly sand the tin or does the Modge Podge always adhere so well?
ReplyDeleteI don't sand the tins. You have to use a nice amount of Mod Podge, but I've never had a problem with the paper pealing off.
ReplyDeletelove the tins...just bought your sew one from your Etsy shop! Wish I had found you before I made my Altoid tin for my peeps swap!!! Since you live pretty close (Atlanta), come go camping with the Southern-fried Sisters of Sisters on the fly!!!
ReplyDeletewww.southernfriedsisters.blogspot.com
Thank you so much for the wonderful tutorial and inspiration.
ReplyDeleteYour tin is absolutely fabulous!
ReplyDeleteFound this on Pinterest - great tutorial - I have done a few tins, and love altoids so I always save them in case I decide to play more.
ReplyDeleteThis is by far the best altered Altoids tin tutorial I have ever seen! Thank you so much! xoxo
ReplyDeleteThe best altoid tins I have seen, so sophisticated! I just got an empty one from a friend and I can't wait to alter them. Please explain "Make sure you edge the corners." part...it's not clear to me. Thanks again for the tut and the inspiration!
ReplyDeleteOnce you add any images, etc. to the top of the tin, you should take your old ink pad and scrape it around the edges to get rid of the stark white of the paper and to blend it in with your already-edged top. I hope this helps!
ReplyDeleteWow, that was quick :) Thanks so much for clarification. I have got Tim Holtz distress ink pads which will do the job I think. Thanks again!
ReplyDeleteThanks so much for sharing! Gave you a shout out on my blog today http://willrunforstamps.blogspot.com/2013/02/my-valentine.html
ReplyDeleteThank you! Your tin looks fab!
DeleteNow that the altoids only come with the embossed/raised lettering on the lid, any thoughts on ways to make it level? Is there something, some kind of paste or whatever that wont chip shrink crack or just fall off, that can be used to level the lids for decorating?
ReplyDeleteLeigh, now that they have that raised lettering (why?!?), I either purchase blank tins from Alpha Stamps (http://tinyurl.com/blanktin) or search for other brands of mints. Trader Joe's carries a similar tin, but with a flat lid.
ReplyDeleteAmazing.. I can't believe I have come across this project while googling other ideas. You may recall I saw this project featured on Crafters and told you I was totally inspired and made several of these tins. I kept trying to upload photos but the system kept wanting me to upload a program for doing this and I didn't want to upload another program. Anyway.. the link I had on my blog to the Crafters link say's it is no longer valid. So I'd like to add your blog to the photos on my blog. I don't know if this will let me add my blog link here, but hopefully it will work: http://itsallaboutme-jocelynann.blogspot.com/2012/03/more-mint-tin-projects.html and you can go see some of the tins. There are several tin posts on the blog found in the 2012 posts. Jocelyn
ReplyDeleteThank you for this fantastic tutorial, including the adhesives you used!
ReplyDeleteFabulous.....thank you so much for the tutorial. I'm making this tomorrow.
ReplyDeleteoh I love this altoid tin!
ReplyDeleteI bought some while in the USA a few years ago and now Im on to it today thank you Kristin for sharing your tutorial!!
Im excited!
very cool!
ReplyDeletevery cool!
ReplyDeleteStunning!!
ReplyDeleteWhat a great tutorial! I appreciate the detail you went into making sure the inside corners are well adhered . I just happen to have my first Altoid tin so I'll be following your directions for altering it.
ReplyDeletethank you for this wonderful tutorial, I am in the process of making a memory tin for my 4 kids and 2 grand kids with pictures of my recently deceased husband.
ReplyDeleteAlie Vermeer ( Netherlands)
I'm going to be doing my first tin swap. This tutorial will help me get off the a great start! Thank so much.
ReplyDelete